
create a flat candle holder
In this short video, we'll teach you how to create a flat candle holder.
Shop our pottery kit here to make this one.
Before you get your hands messy:
Put on your favourite record or Spotify playlist (@modeletto.store for some of our tunes).
- Grab a chopping board to work on and a small bowl of water.
- A rolling pin or something you can roll clay with like a glass bottle.
- Glass jar or round cookie cutter
- Get your clay pouch + tools ready
Whenever we mention:
- Score: use your pointy tool to etch small lines into each surface to be joined.
- Slip: dip your finger in the water and apply a little amount to your scored lines.
1. Take your clay out of the pouch, break in half and roll into 2 x balls
2. With one ball roll out the clay using a rolling pin or glass jar to about 1cm thick.
3. Use the bottom of a glass to measure a circle then use your knife tool to cut around it. Smooth the edges with your finger and a little bit of water.
4. cut a long rectangle with the rest of the rolled clay - measure around the base of the candle so that you know it will fit. Join the two ends together to make a cylinder - apply water and smooth.
5. place your cylinder on top of your circle base. With the left over scraps of clay, roll out a little bit of clay to go around the base of the connected circle and cylinder then use your blending tool to blend the clay in.
6. repeat above steps to make another with your other ball of clay or learn how to make a make a wonky one HERE.
7. Let it dry for 24-48 hours. For best results a week
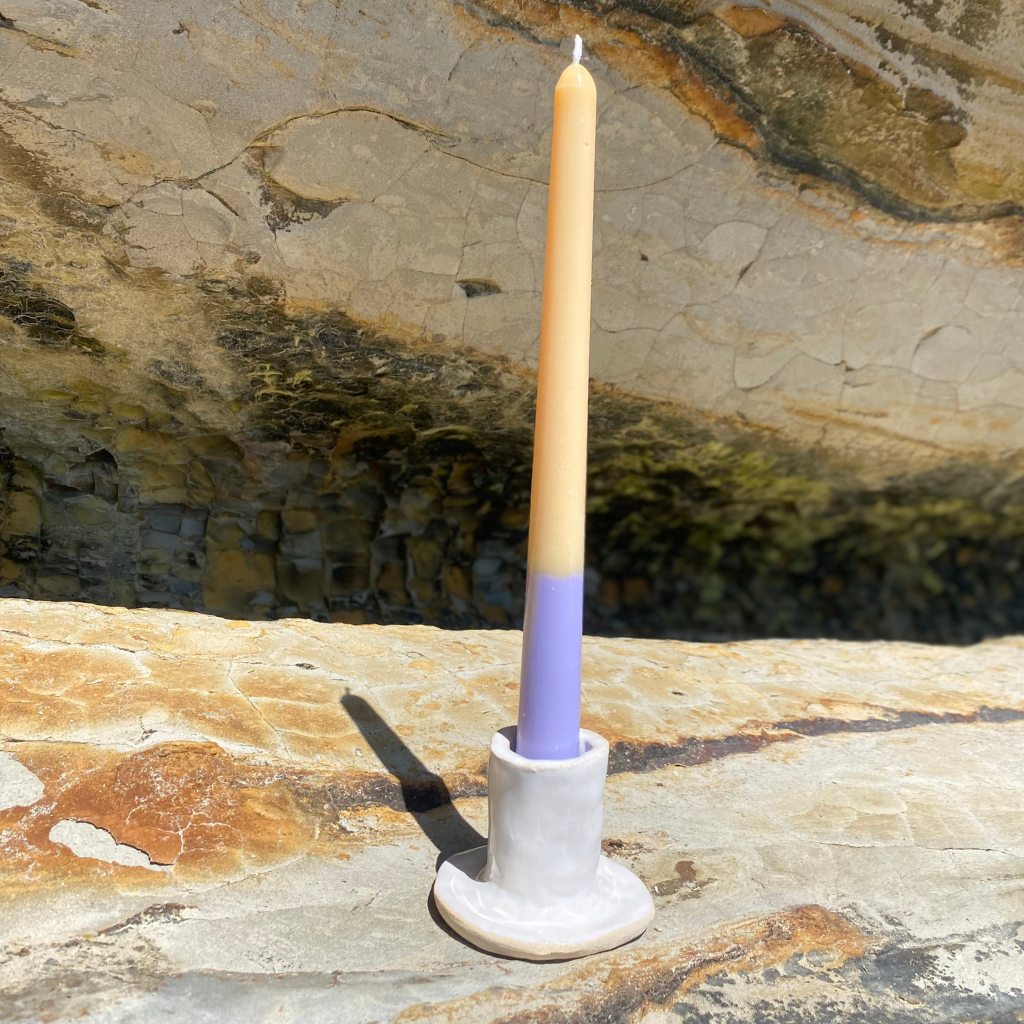
8. Seal with two coats of sealer and it will look beautiful (like the one pictured in the blog), or paint it, then seal. Make sure you leave 30 mins drying time between each coat. Your holders are now ready for your tapers.
NB: These holders are not water safe if you just leave it to air-dry, so if you'd like to make it ceramic you'll need to have them fired. Head to our FAQ page for firing instructions.
We'd love your help with our purpose to introduce more play into everyone's day. Share your kit, creation process, or finished shape on your stories or feed - tag @modeletto.store, so we can re-share.

